A/B tests help you make your React app better by comparing changes for their impact on key metrics. To show you how to set one up, we will create a basic React app, add PostHog, create an experiment, and implement it to A/B test content in our app.
Creating a React app
First, create our React app using create-react-app and go into the newly created react-ab-test folder.
Next, remove the boilerplate code in src/App.js to simplify it to only a title and button we encourage users to press.
Finally, run npm start and go to http://localhost:3000/ to see our new homepage.

Adding PostHog
To use PostHog to manage and track our A/B test, we must install and set it up. We do this by installing the posthog-js library to get access to the React SDK.
Once installed, import PostHog into src/index.js and set up a client using our project API key and instance address from our project settings. We can wrap our app in the React PostHogProvider to access PostHog in any component.
Use the React usePostHog hook in our src/index.js file to capture a custom event when the button is clicked. This will be the goal metric for our A/B test.
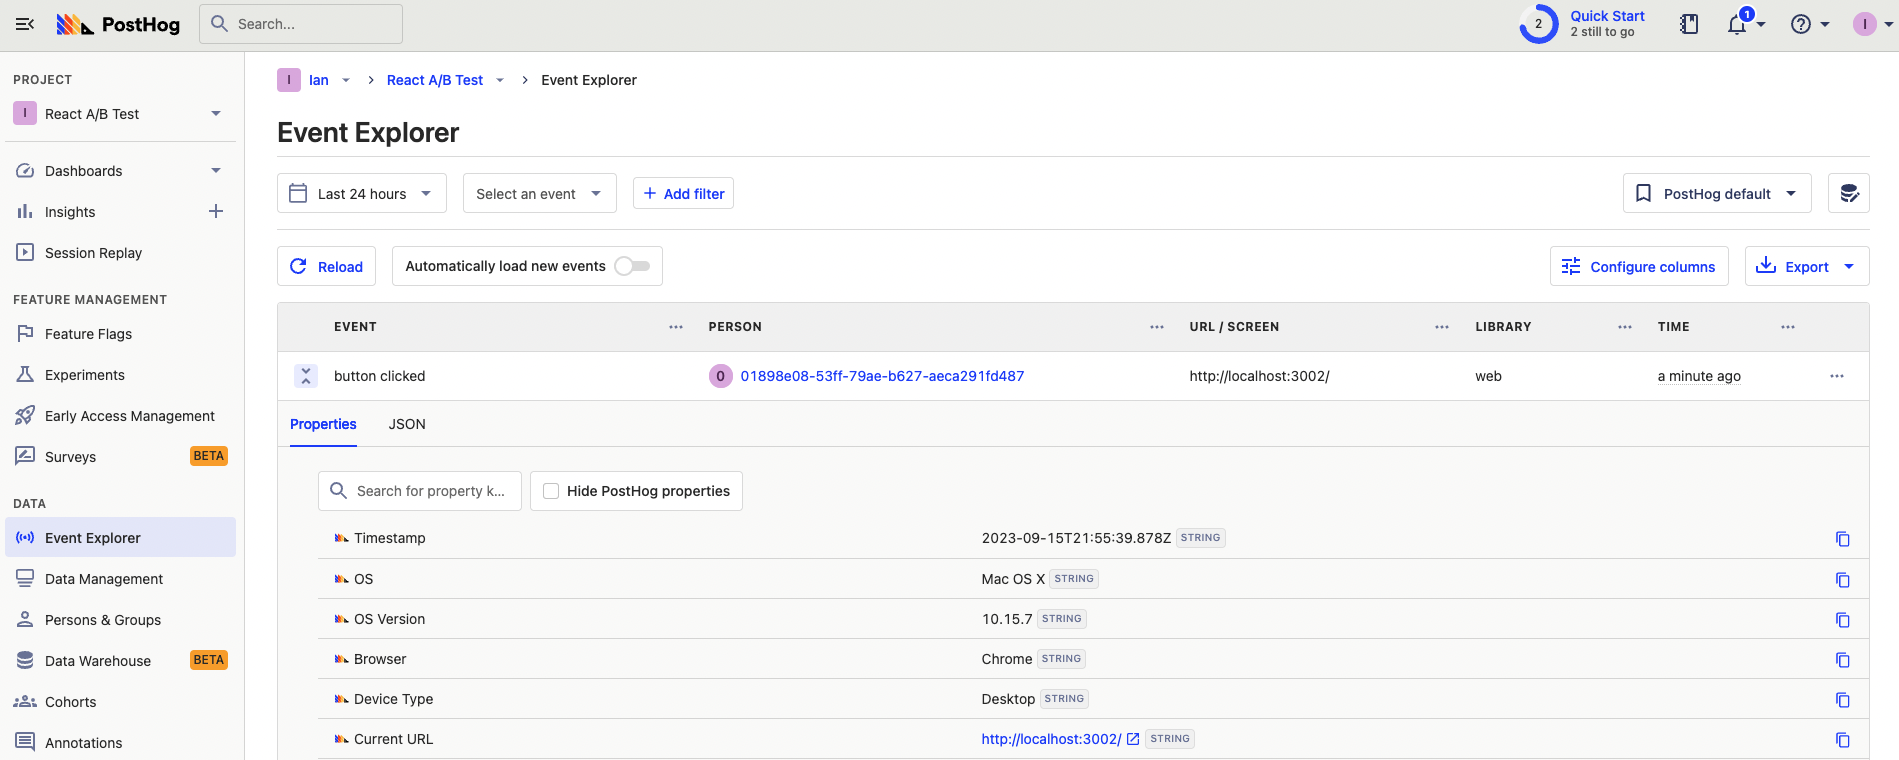
Once done, go back to your app, click the button, and you should see a button clicked event captured into your PostHog instance.

Creating an experiment
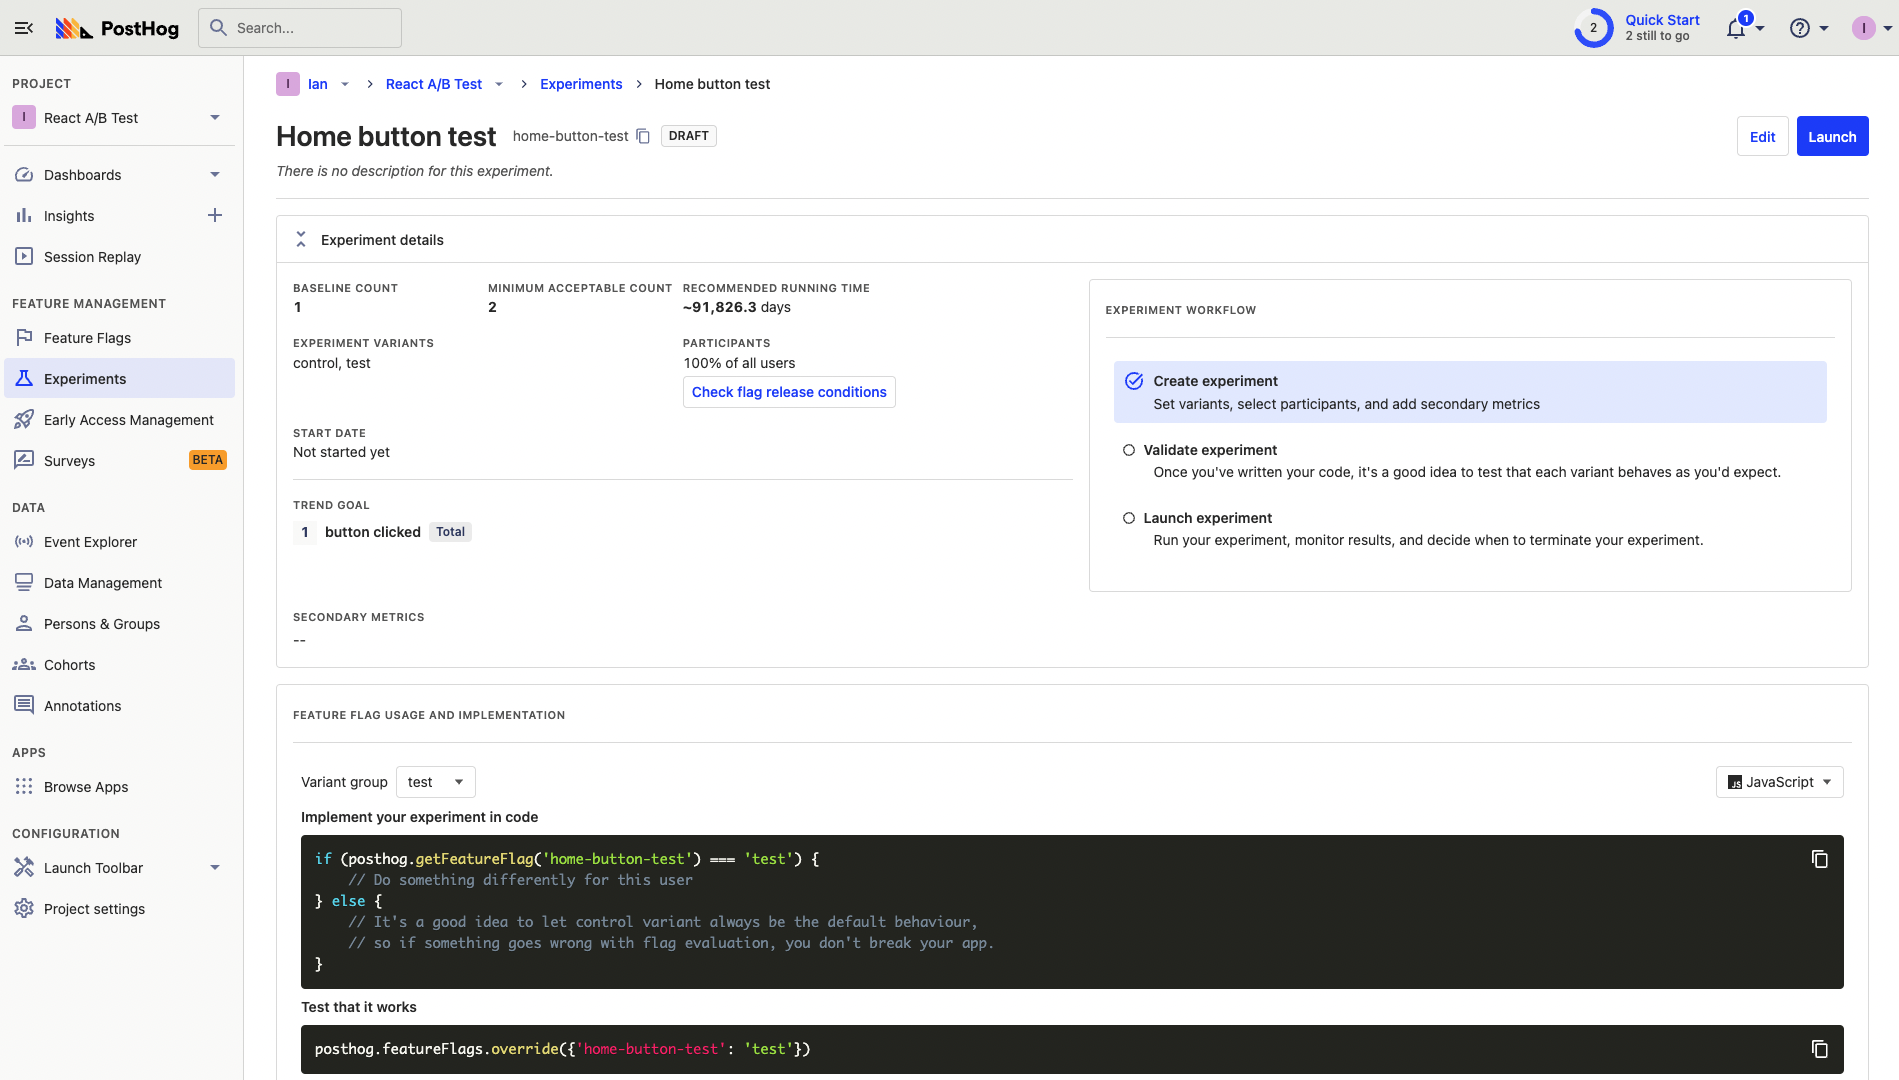
With PostHog set up, your React app is ready for the A/B test. To create one, go to the experiments tab in PostHog and click "New experiment." Add a name, feature flag key (like home-button-test), set your goal type to a trend of the button clicked event, and press "Save as draft."

You can customize it further with a description, secondary metrics, or more variants (for multivariate testing).
Implementing the experiment
With our experiment created, it’s time to add it to our React app. To do this, check the home-button-test flag using the useFeatureFlagVariantKey hook and show our changed content if it returns the value "test."
Alternatively, you can use the React feature component as shown in the How to set up React feature flags tutorial.
To test that it works, override the feature flag with the test value.
After confirming it works, remove the featureFlags.override call, go back to your experiment in PostHog, and click "Launch." The A/B test is then running to get results on which version is best.

