Estimated reading time: 5 minutes ☕
For some users, cost is a big concern. Too many events can cause unexpected costs when first trying a product analytics platform like PostHog. We want to make sure we are providing value to you as a customer, and if that means capturing fewer events, we’ll do it.
For others, PostHog can overwhelm them with events. We try our best to help you avoid this by providing filtering tools for insights, internal users, and privacy. We recommend having as much data as possible, because you never know what you need, but if you are feeling overwhelmed, there are solutions.
PostHog provides options to capture fewer events and limit the number of unwanted ones. This can help lower costs and stress for new or overwhelmed users. In this tutorial, we'll explore how to limit the number of unwanted events you capture in PostHog.
Configuring autocapture
Autocapture enables you to start capturing events on your site quickly, but this can lead to large numbers of events.
To counteract this, autocapture is configurable. For example, you can use the frontend JavaScript library without enabling autocapture. Just set autocapture to false when initializing the library (this still captures pageview and pageleave).
You can also disable pageview and pageleave with the capture_pageview option and session recordings with disable_session_recording. You can find all the configuration options for our JavaScript library in our docs.
Disabling these options still allows you to use other PostHog features such as posthog.capture() calls or feature flags. If limiting unwanted events is what is important for you, disabling autocapture and using capture calls gives you more control over the events you are capturing.
Using feature flags
If you’re worried that a specific area of your product may be generating too many events, you can put those events behind feature flags. You can use feature flags instead of changing code to remove events or turn off autocapture. Here are two ways to do so.
First, you can turn off autocapture with a feature flag when the PostHog library loads. Toggling off this feature flag can lower event flow within PostHog without changing the code.
Second, you can put events in key areas behind feature flags and turn them off if you reach your limit.
Feature flags work well as “kill switches” in situations where you want fewer events. You can collect events from a specific area and then turn the event capture off when you’ve got the data and insights you’re looking for.
Adding the no capture class
Another way to get fewer events from specific parts of your site is using the ph-no-capture class. You can add the class to any element to prevent it from being autocaptured. For example, you could wrap whole sections in a <div> with a ph-no-capture class, and none of the events in that section would be autocaptured.
This allows you to prevent autocapture on high-volume or sensitive parts of your website. For example, you could add ph-no-capture to your navbar to cut down on navigation click events, while keeping pageviews.
Filter out app
PostHog has apps that enable you to modify the events flowing into your instance. Although it is better not to capture them in the first place, we can use them to not keep (drop) events we don't want.
The first app is the "Filter Out" app. It is used to filter out (or in) events matching certain conditions. This includes filters like number comparison, string regex, and boolean checks.
To set it up, go to Browse Apps, search for "Filter Out Plugin," and upload JSON matching the schema detailed in the README. This will look something like:
Finally, click save and toggle the app to activate it. You'll be able to track how it is working by clicking on the "App metrics" button (graph).
Be sure to test your filters drop the events you expect, because miswritten schema can filter large amounts of events. For example, our sample
$.
Downsampling app (not recommended)
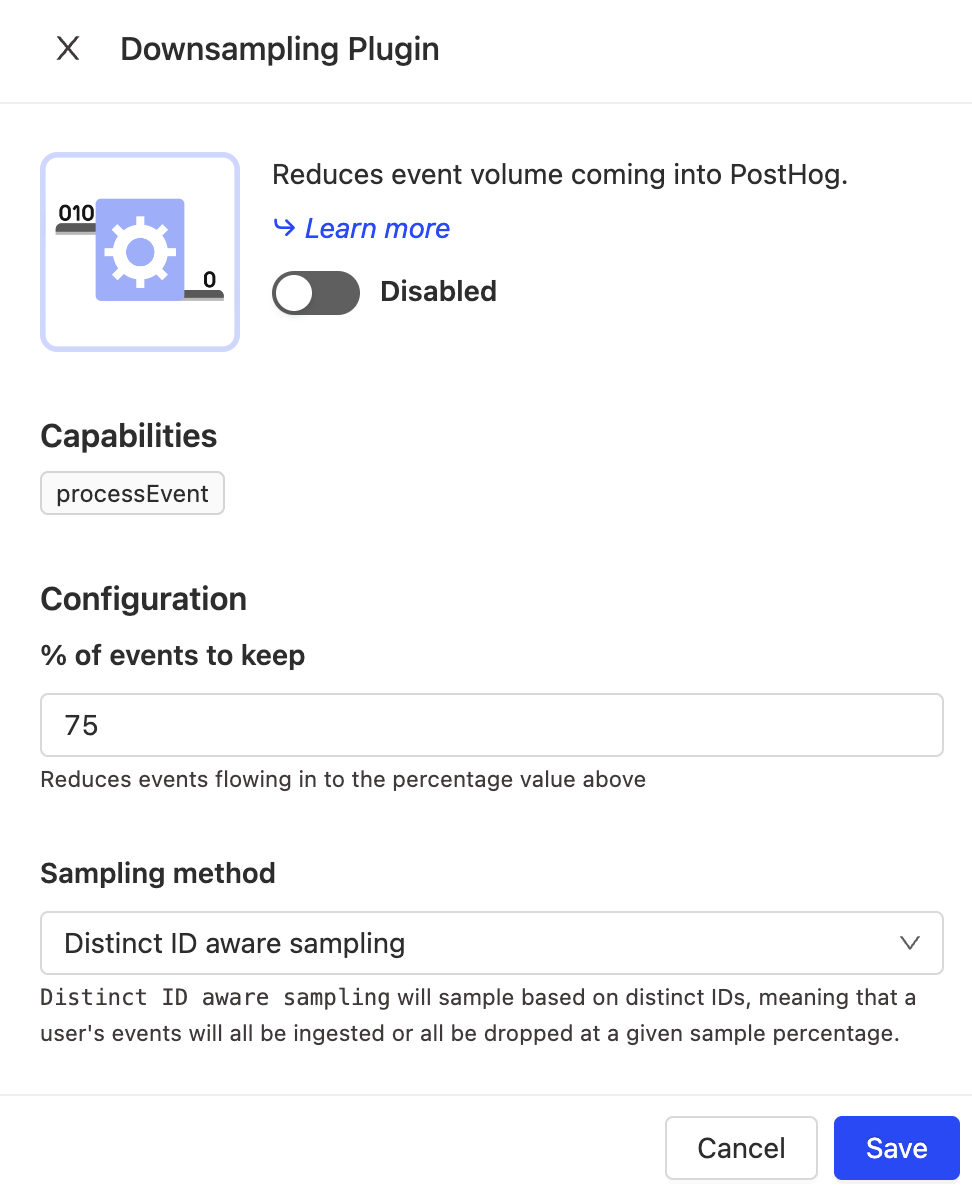
The second app you can use to keep fewer events is the Downsampler app. It reduces the number of events your instance will ingest by a percentage.
To configure it, search for the “Downsampling Plugin” in Apps, click the blue gear, pick a percentage of events you want to keep, and click the toggle to activate.

The problem with downsampling (compared to the other methods covered) is that you have less control over event ingestion. The app drops a random selection of all events. For example, if you have a funnel that goes from pageview to signup to paid. The downsampler could drop the signup event breaking a funnel, or worse, it could drop a paid subscription making your customer data inaccurate.
On top of this, you must guess what percentage you need. A percentage of a large number can still be a large number, which might not solve your problem. On the other hand, you could also be downsampling when you don’t need to. Downsampling is an option, but we'd recommend trying the others first.
Further reading
Hopefully, these options helped you get your event data ingestion and costs in control. From that, you can increase the amount you are capturing again. Here are some recommendations to help you out:
- Not getting enough events? Check out our event tracking guide.
- Trouble with pageview captures on your single page app? Check out our tutorial on how to set it up.
- Want to avoid using cookies in your tracking? Follow our cookieless tracking tutorial.

